Coming Soon! Subscribe here for updates and more info to #BuildWithOmni
-
Important Update: Shop legacy sales are closed but will support ytp 4.2+ and Joomla 5
SHOP SETUP GUIDES
Creating a shop product custom field image gallery slideshow
In this tutuorial we're going to talk through how to create a repeatable custom field add images in your products details in commerceLab and display it on your products details page in YOOtheme builder as a slideshow.
-
If you're on this page you should have at least one product page setup so we can set the custom fields to the product. If you have not you can learn how to here.
Sub-form custom field overview
Multiple source custom fields in Joomla 4 work a little different then in Joomla 3 and are alot more versatile. Instead of creating a repetable custom field you will be creating multiple custom fields assigning them activating them for sub form use and then assigning them to a sub form custom field.
This allows for more options as well as using a media custom field in multiple sub forms. If you have mutplie image galleries in a product you only have to make the media custom field once with the settings.
This allows for more options as well as using a media custom field in multiple sub forms. If you have mutplie image galleries in a product you only have to make the media custom field once with the settings.
-
At this point we assume you have a field group created and are ready to assign your new suub form custom field for your image gallery to it.
Adding a "Media" custom field and and assigning it for subform use
-
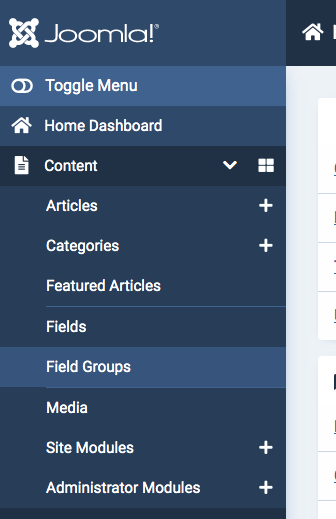
Navigate back the sidebar menu of Joomla and Click the tab that says "Fields" and go in.
-
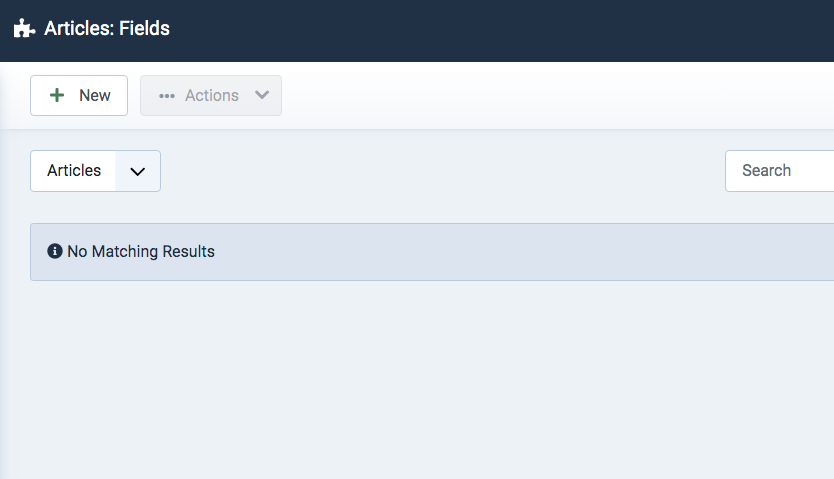
Click the "New" button at the top of the page.
-
In this tutorial we are making an extra text box for extra product information.
-
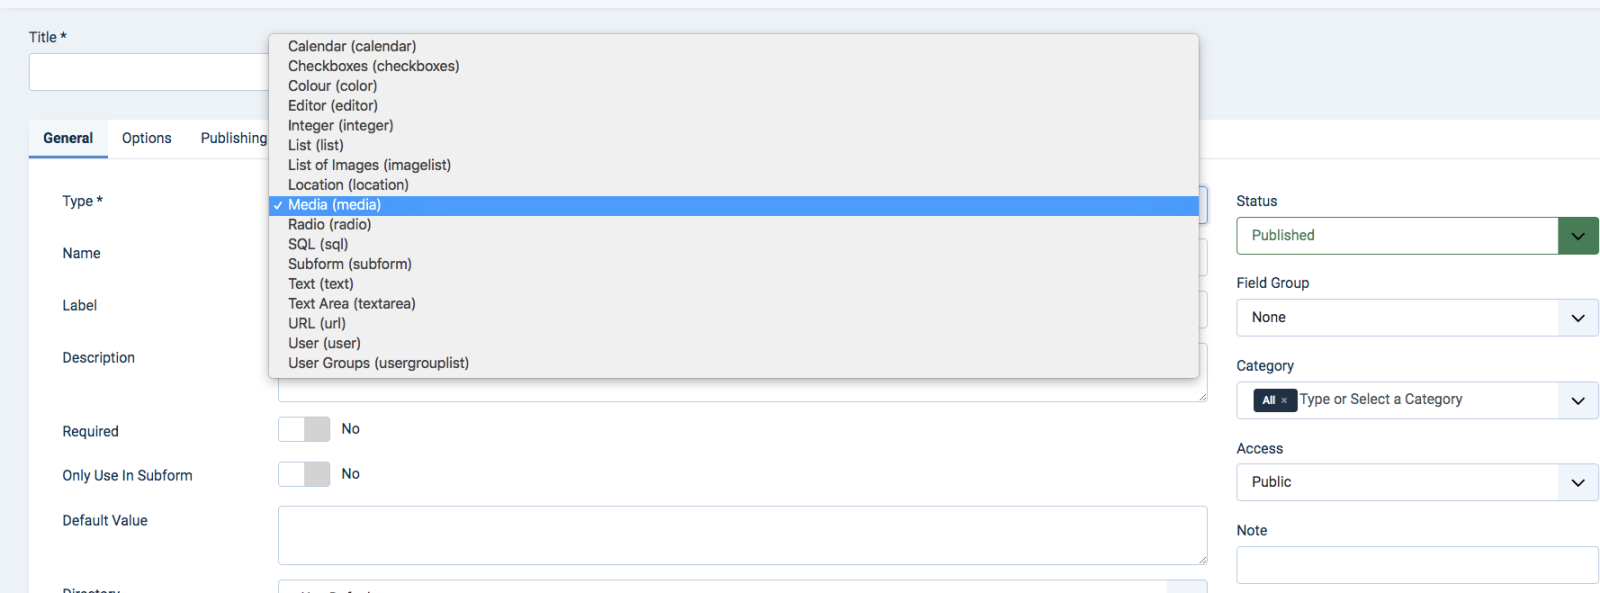
Set the type to "Media"
-
Title your new custom field accordingly for images
-
Set the the button "only use in a subform to "Yes"
-
Set the directory to to folder you want your images to be pulled from.
-
This makes it faster to open the media directory folder you have your images in. You do not need to do this step. You can still access all your images in your media library when selecting images.
-
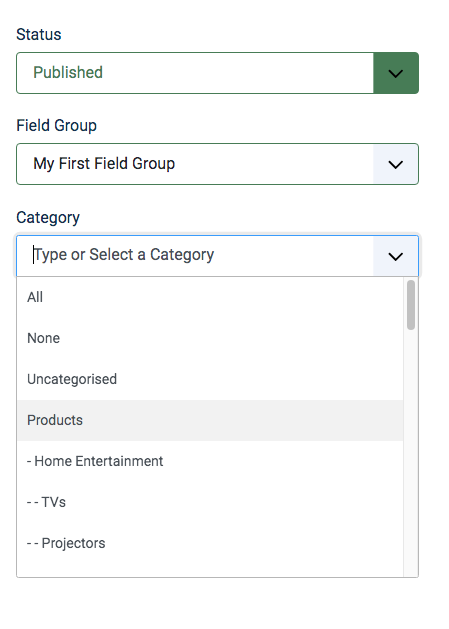
In the sidebar of this area make sure the custom field is published
-
When selecting for subform use only you'll notice category selection dissappears this is because you will define this when you make your sub form field.
-
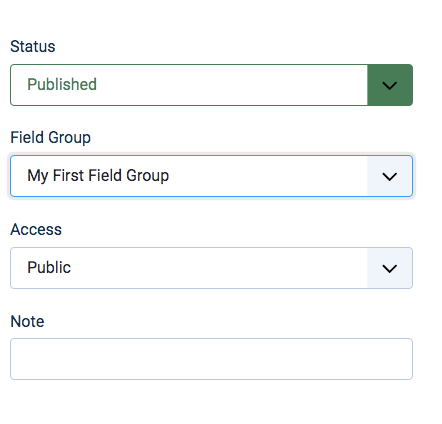
Select your field group
-
Save & Close
-
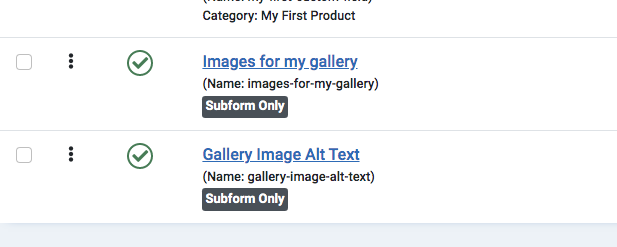
Back to the home page of your custom fields area.
Creating a Img Alt custom "Text" Field
We're going to add image alt text to our images for SEO purposes. Just like creating a media custom field we'ere going to now create a "Text" Custom field.
-
In the custom fields areas create a new custom field.
-
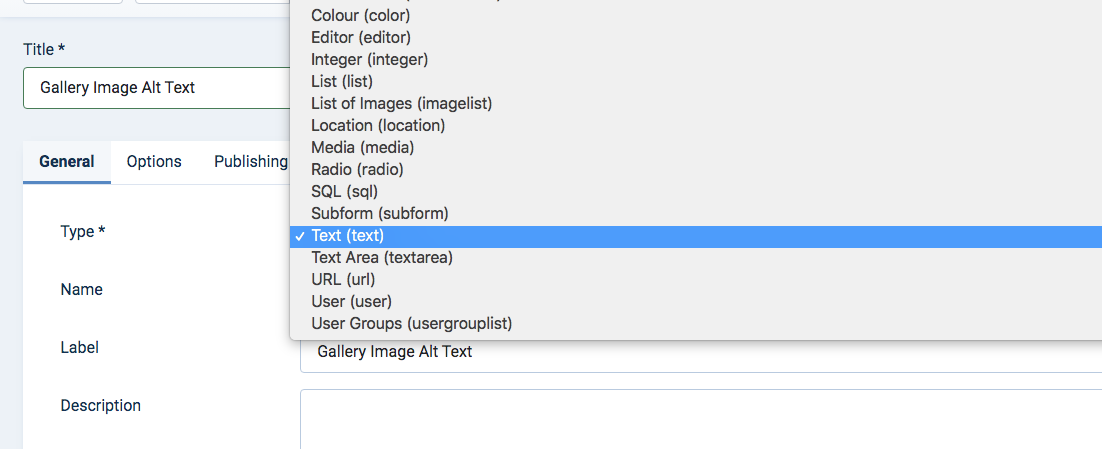
Name your custom field "Gallery Image Alt Text"
-
From type area select "Text" from the drop down.
-
Set the the button "only use in a subform to "Yes"
-
Assign this new item to your to your field group
-
Save and close back to your Custom fields homepage
Creating a sub-form and adding your "Media" & Image Alt "Text" custom fields to it.
-
Create a new custom field
-
Name it
-
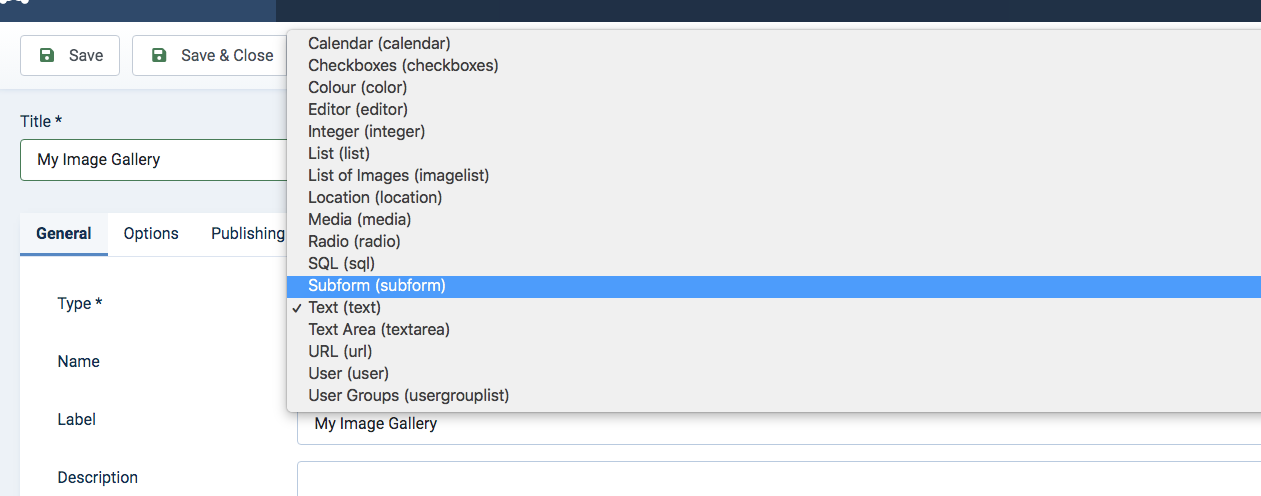
From the type selection select Subform
-
Scroll to the bottom of this area and select your image gallery "Media" from the drop down
-
Next let's add our alt "text" custom field to our Sub form
-
Click the top right + Button to create a new field area within the sub form.
-
In the new area that has appeared select your Image alt "text" Custom field
-
Assign your New sub form to the product categories you'd like to add image galleries to in your product details.
-
Save & Close
-
You're all set. Note you can make as many of these sub forms as you'd like for your products you might need mutliple image galleries you can do it by duplicating the above steps.
-
Let's add some images to your product details in CommerceLab Shop
Adding your images to a sub form custom field in a CommerceLab Shop product
-
Go to Components >> CommerceLab Shop >> Products >> and open a product in the category you've assign the custom field to
-
If you've assigned your subform of your Sub form correctly, at the very bottom of the products details you will see your new sub form custom field.
-
Add new product information in the field you did not have a place for before.
-
Click the green button that says add your first row.
-
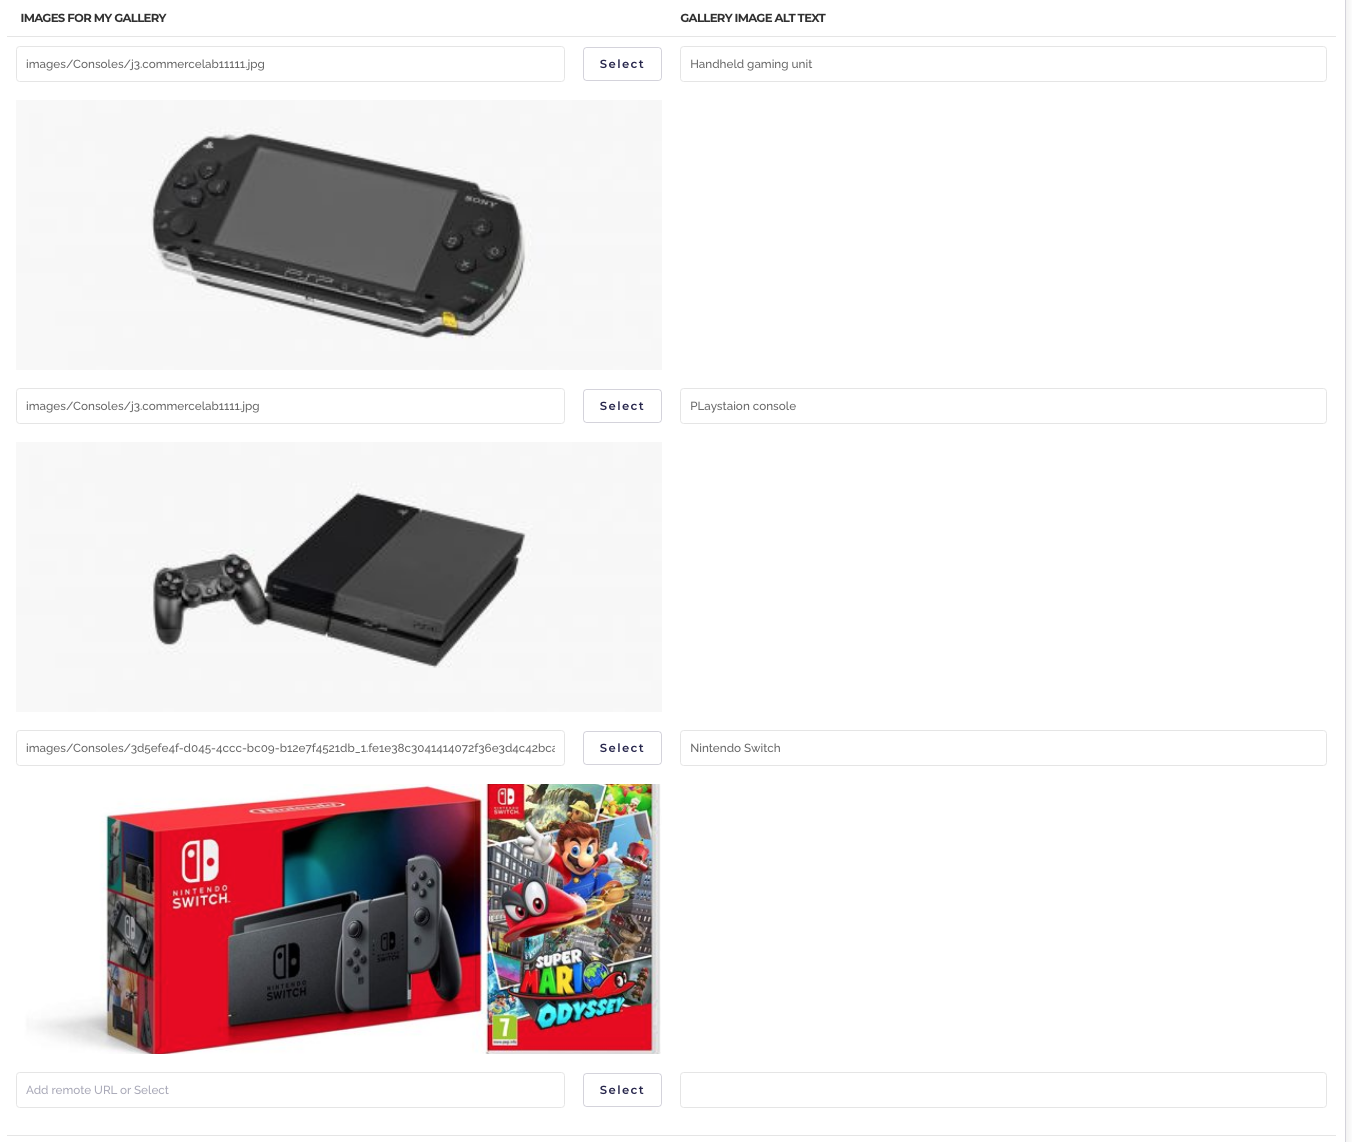
You will now see your Image gallery selection custom field & your Image alt text custom field ready to populate content.
-
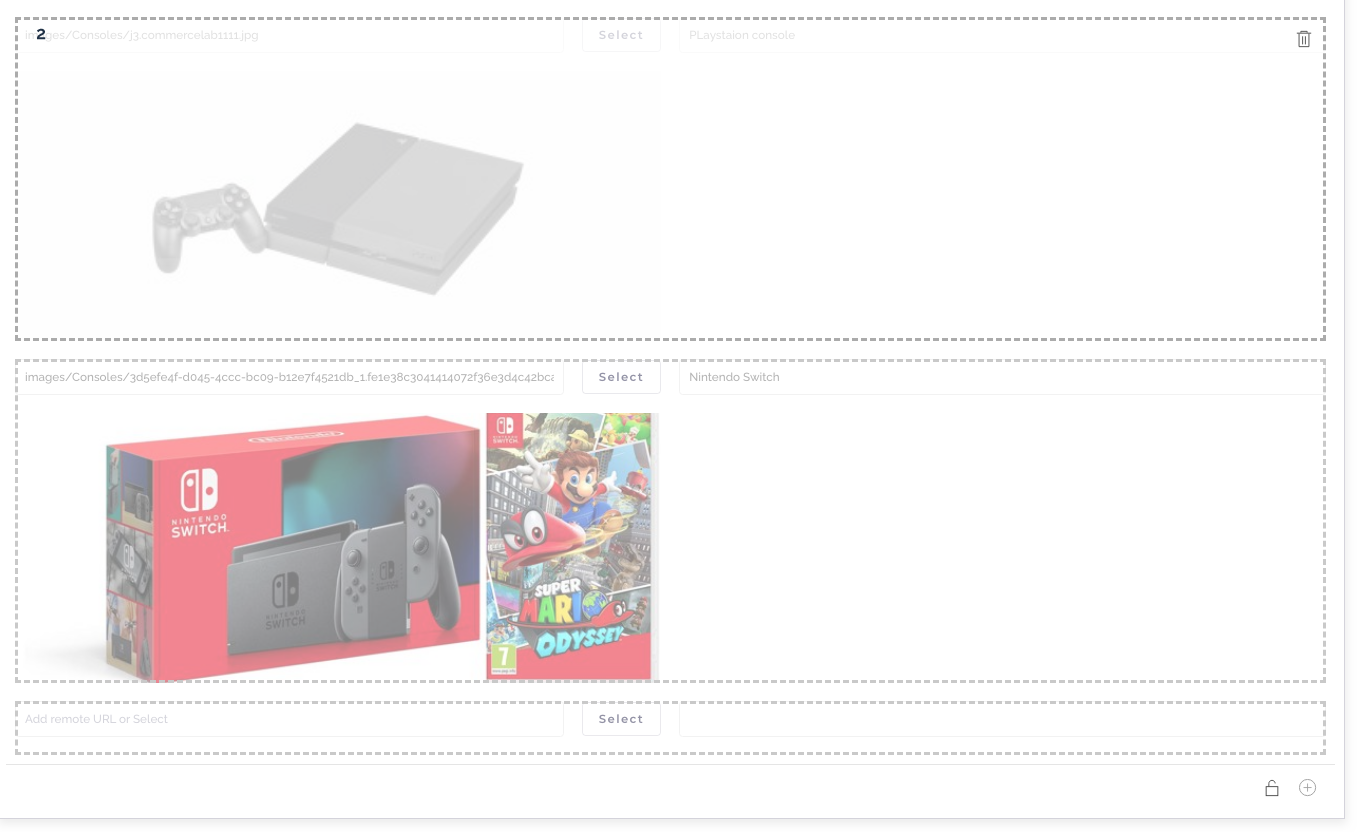
Add your image and your alt text to your first gallery image
-
To add another field set, click the + sign in the bottom right corner below the alt text you've just added.
-
Make a few images so you can show multiple images in your upcoming prodcut page gallery in in the products YOOtheme page builder page.
-
If you'd like to delete one, click the Lock icon in the bottom corner of the section.
-
Your now ready to pull this added content into your products YOOtheme page builder details page.
Adding your custom field image gallery to your product details page in YOOtheme Page Builder
We've made it to the end we're not going to add your new image gallery to your products details page.
-
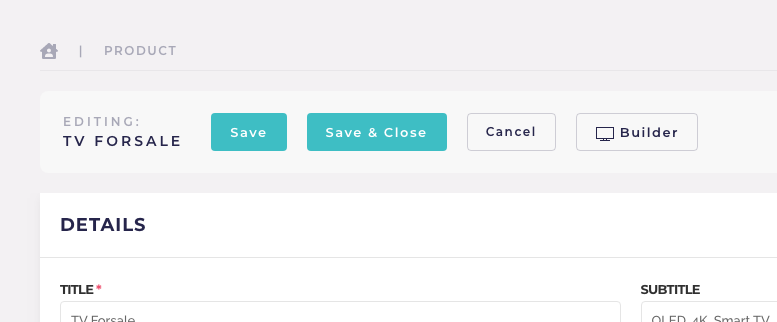
At the top of your product details page click the button that says "builder".
-
Don't worry you're product details will auto save when you click the button.
-
This will take you directly to your prduct page in YOOtheme builder
-
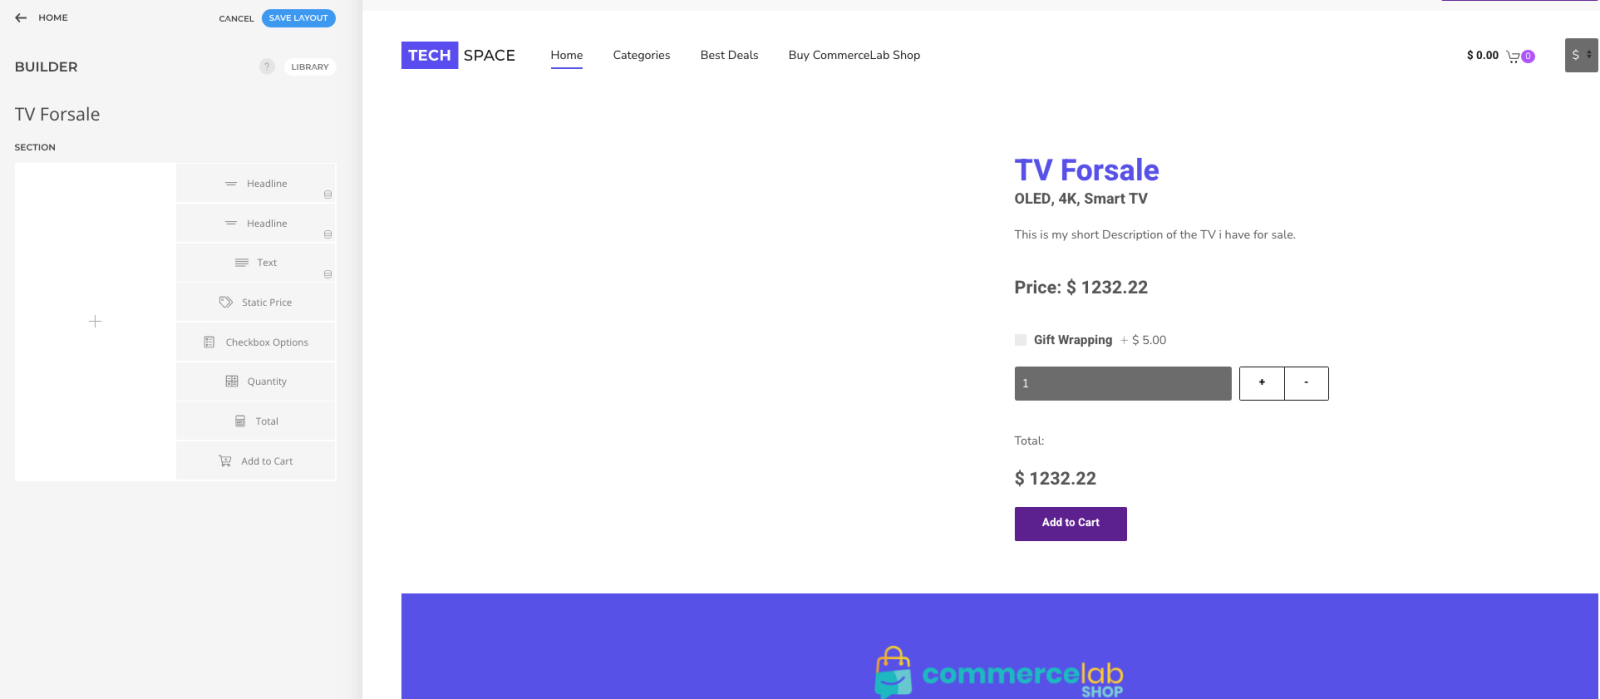
You will be back on your product page
-
Now in builder click the + to create a new element
-
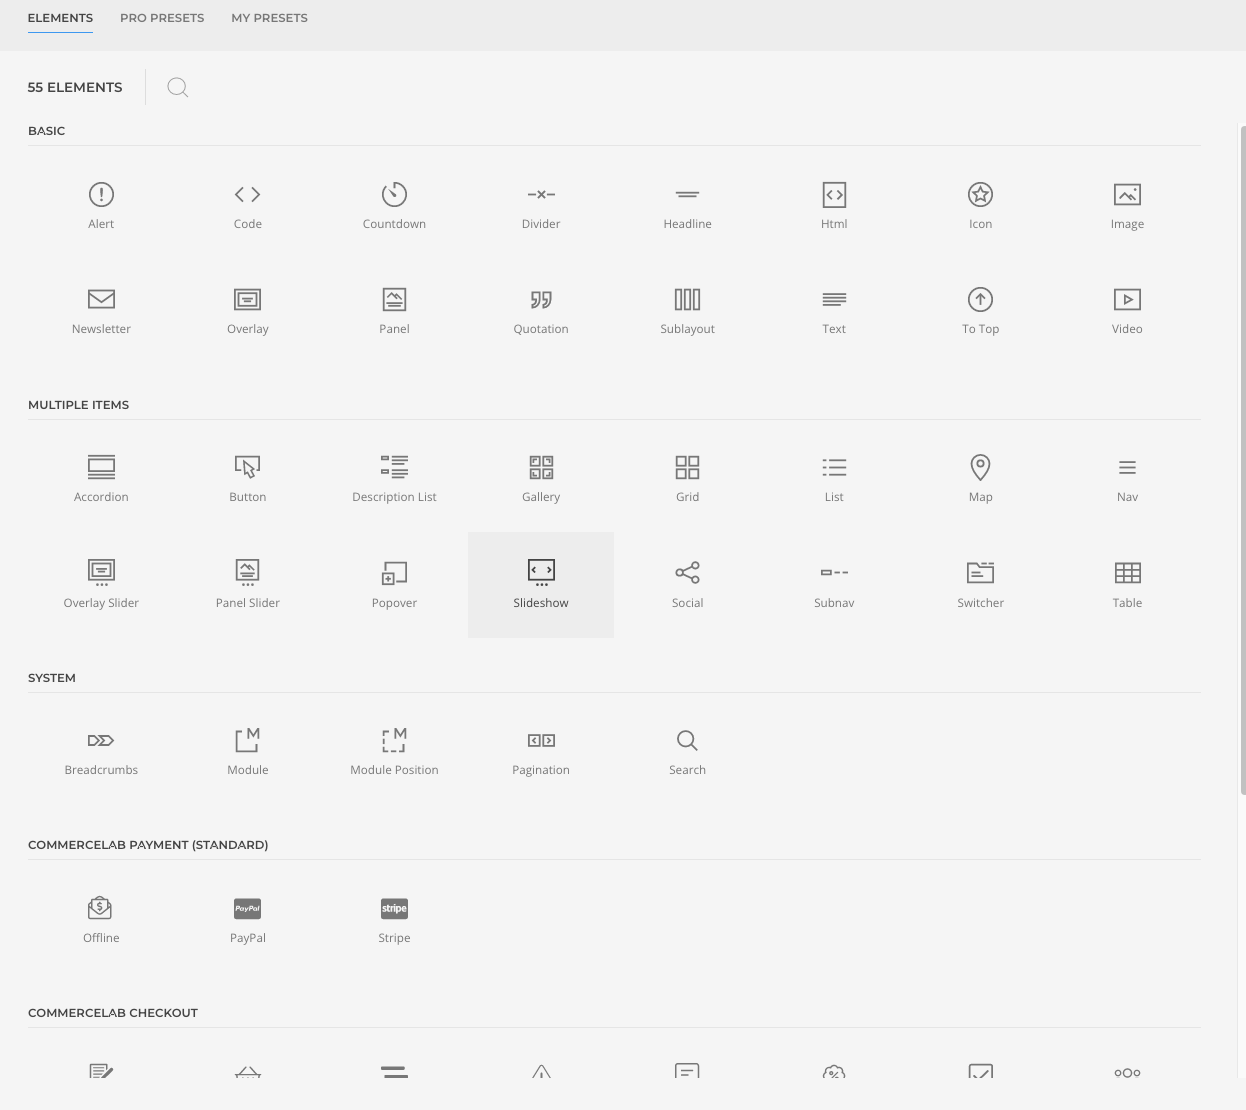
In the Multiple Item section select the "Slideshow" element.
-
Click into the slideshow element
-
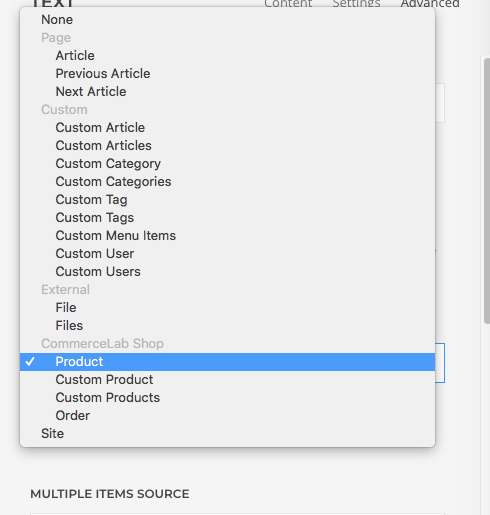
Select "Advanced" tab and in the dynamic content source set it to "Product".
-
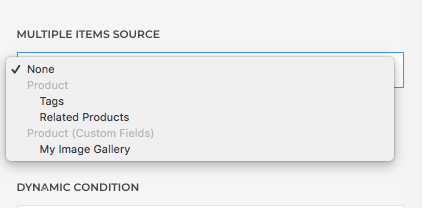
After you select go directly below it the the "multiple item source" dropdown and select your gallery. it will be named whatever you've named your subform in custom fields.
-
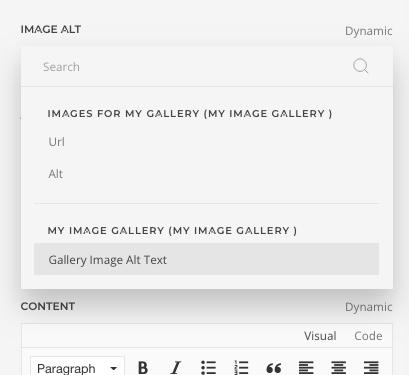
Go back to your slideshow content area. Let's assign the sub form details to your your slideshow content using dynamic content.
-
Choose from the dropdown "URL"
-
Save your page then click the close button you will be brought back to your products cetails in CommerceLab Shop.
-
There are plenty of settings in the slideshow element to make your slideshow look how ever you want. As well as add thumbnails.
-
Enjoy this and make it look however you'de like.
-
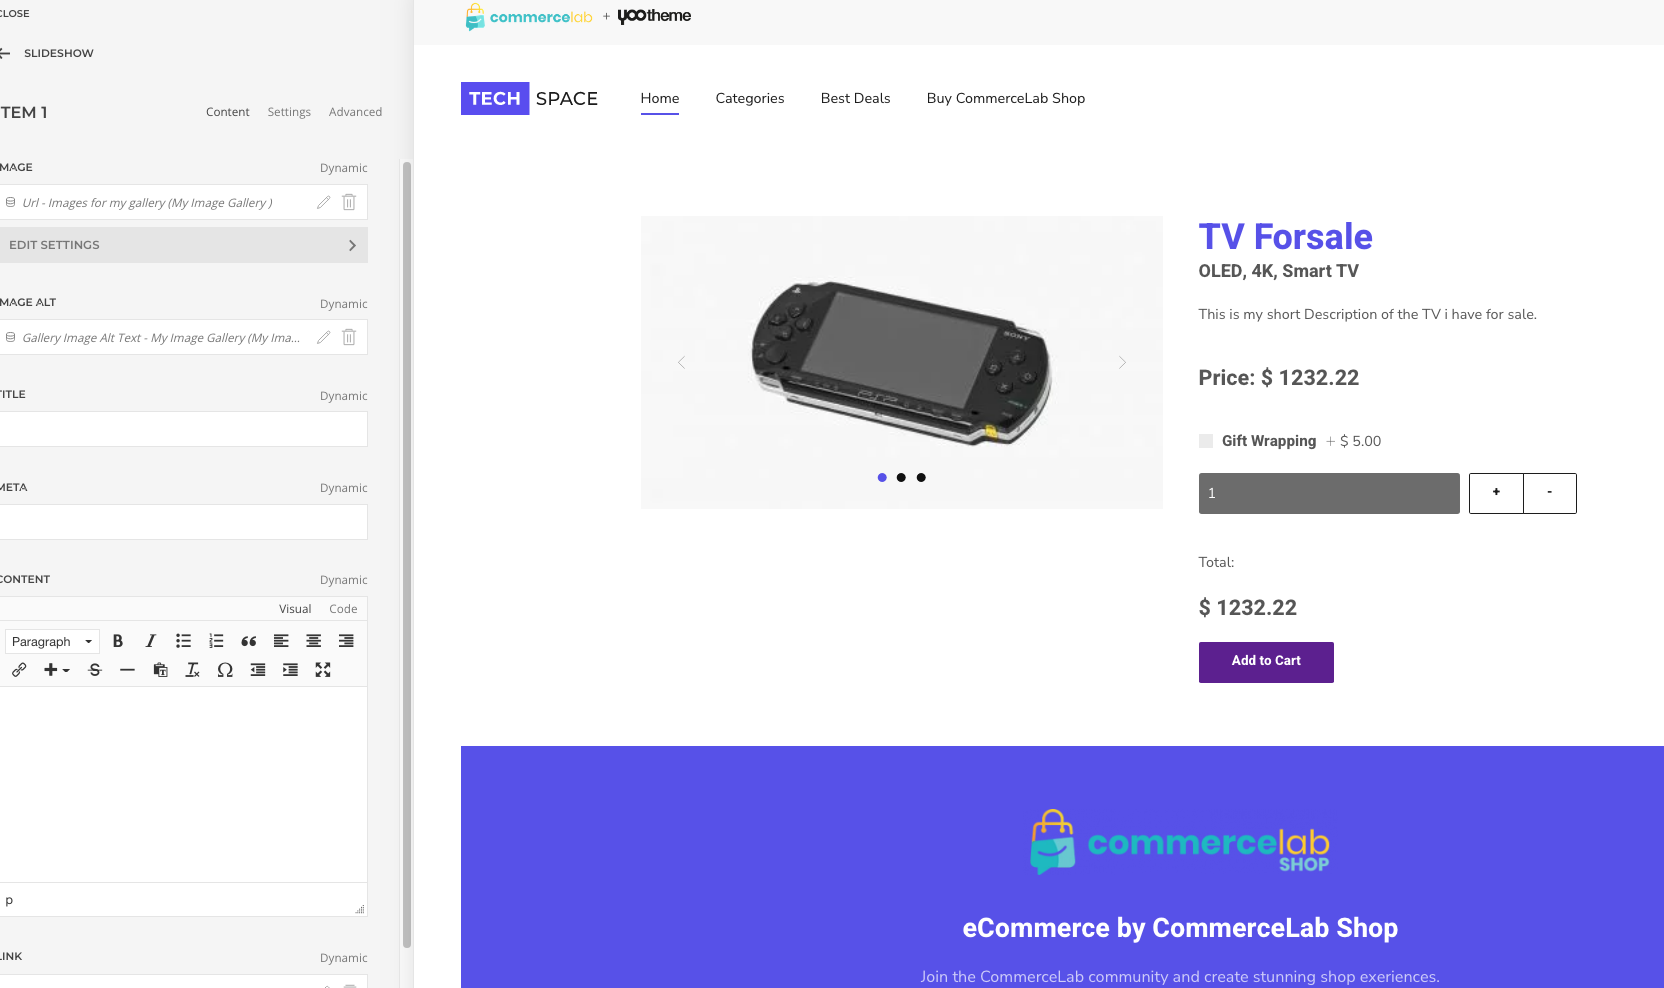
You now have an image gallery for your product
-
Note you can use this image gallery now anywhere on your site.
©
Omni all rights reserved. A CommerceLab Corporation Product.
