Coming Soon! Subscribe here for updates and more info to #BuildWithOmni
-
Important Update: Shop legacy sales are closed but will support ytp 4.2+ and Joomla 5
Stripe Payment Gateway (default)
Included with your CommerceLab Shop component is the payment gateway by Stripe let's walk through setup and configuration of this add-on to get you started taking payments.
Getting to Stripe.com
Youre going to need your Stripe credentials for sandbox testing on your site check and live credntials when you're ready to start taking real payments.
-
You can get your credentials from inside your stripe account
-
https://dashboard.stripe.com/
Getting your Stripe testing keys
-
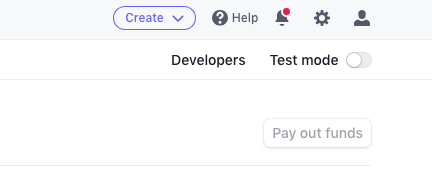
When in your stripe account click the button "Developers" in the top right corner
-
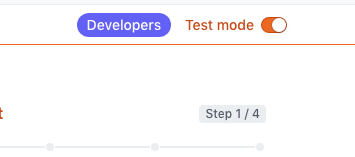
Toggle the switch now next to the "developers link to "Test Mode"
-
Copy and save your Test "Publishable Key" & "Test Secret key" you'll need these for your Stripe Plugin
Getting your live publishable key and creating a secret live key
-
Toggle the "test Mode" Switch to off
-
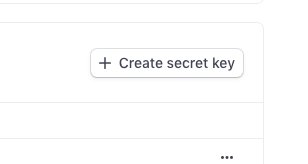
Click the create button "Create a secrect Key"
-
Name it
-
Copy your new Secret Live Key. You will only be able to see it once so make sure to copy it and save it somewhere secure.
Creating a Stripe webhook
-
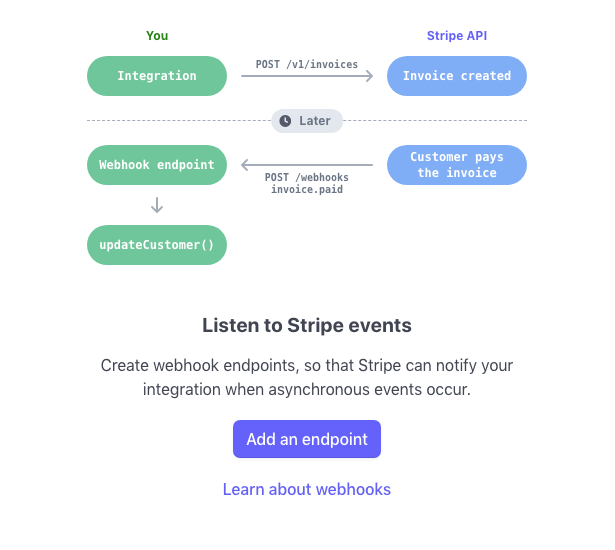
You will need to create a webhook end point back to your shop for both test mode and live mode. Do these steps in both test mode and live mode.
Your CommereLab Shop is listening for the results of the transaction to either tell your customer something went wrong or the transaction was completed and show them the order confirmation page. -
Go to your "webhooks" section from the left menu when in the "developers" area
-
Click the "Add an End Point" button.
-
Name your webhook
-
Add this end point URL. (The URL is the same for both test and live mode).
https://your.domain/index.php?option=com_commercelab_shop&paymenttype=stripepayment
-
Add a description that describes what happening such as "listneing for transaction details"
-
Then click the "select events" Button
-
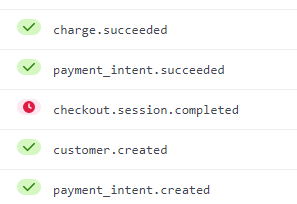
Search for these endpoints and add them.
-
Save your test and live test end point secrets.
Stripe Plugin Configuration
-
Navigate to your Joomla 4 >> Plugins section and search for "Stripe"
-
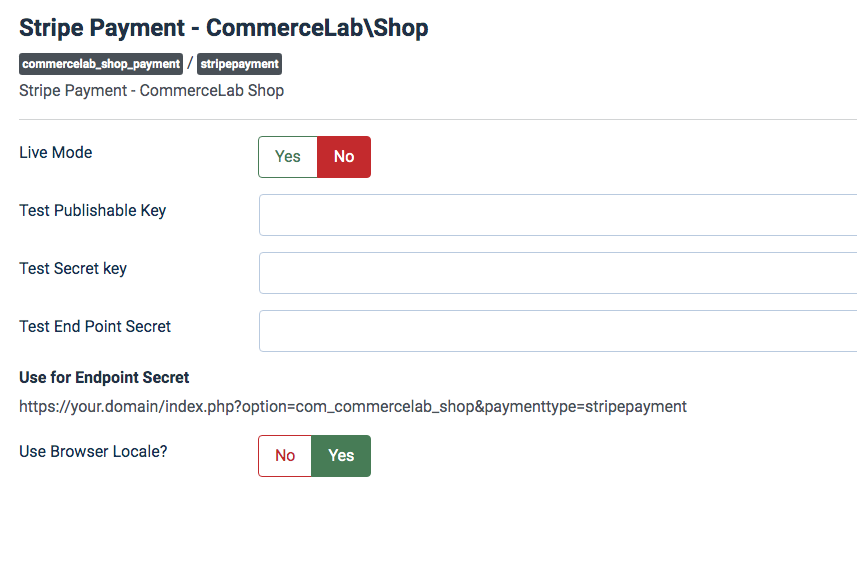
Click into "Stripe Payment - CommerceLab\Shop"
-
This is where you'll be entering your "Sandbox" credentials you saved.
-
Add your test webhook end point secret
-
Leave "User Browser Locale?" Leave as yes. This is for advanced usage
-
Toggle the switch to live and enter your live keys
-
Enter your live end point secret
-
Leave "User Browser Locale?" Set to yes. This is for advanced usage
-
Remember to switch the toggle back to "live mode no" so you can test this properly.
-
Save and close you're ready to go configure this on your checkout page.
The Stripe standard element
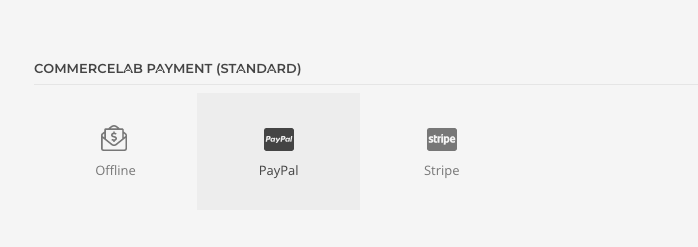
Naviage to your checkout page. In your YOOtheme page builder under "CommerceLab Shop Payment (standard)" elements you can find your Stripe element drag this on to your page. To begin the setup and testing.
-
Drag this onto to your checkout page and begin configuring tests on your checkout.
©
Omni all rights reserved. A CommerceLab Corporation Product.
