Coming Soon! Subscribe here for updates and more info to #BuildWithOmni
-
Important Update: Shop legacy sales are closed but will support ytp 4.2+ and Joomla 5
Creating a simple grid page layout in YOOtheme's Page Builder
YOOtheme uses a grid based system to create page layouts in builder we're going to walk through creating a simple grid for your products.
-
If your reading this we assume you've followed the inital steps of adding product details to your product,, you will need at least one product to continue. If have not done these inital steps please learn how at the link below.
New layout overview
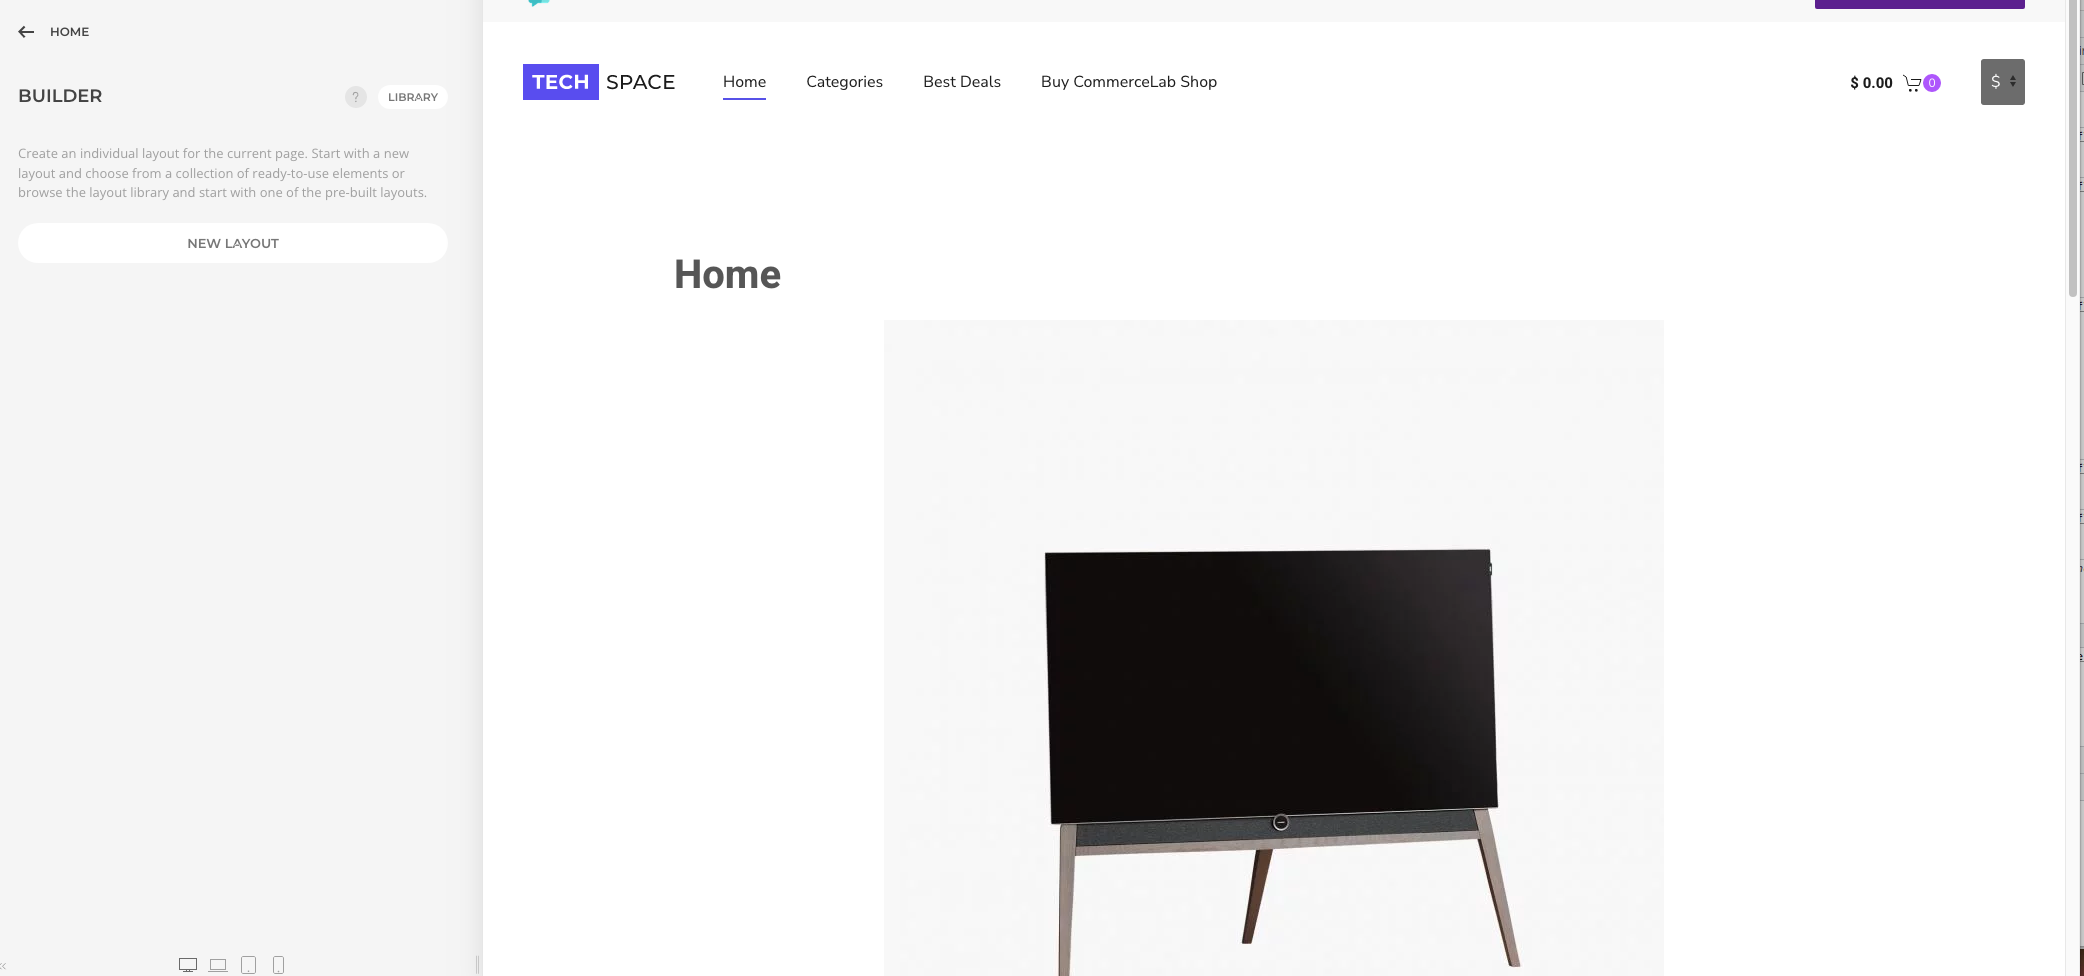
When you first arrive at your product page won't see much but a few article mapped fields will show from your into image and decription.
-
In the page builder area (left column) click the button that says "New Layout"
-
If you don't see "new layout" then you have not clicked the "builder" button first in the side menu.
-
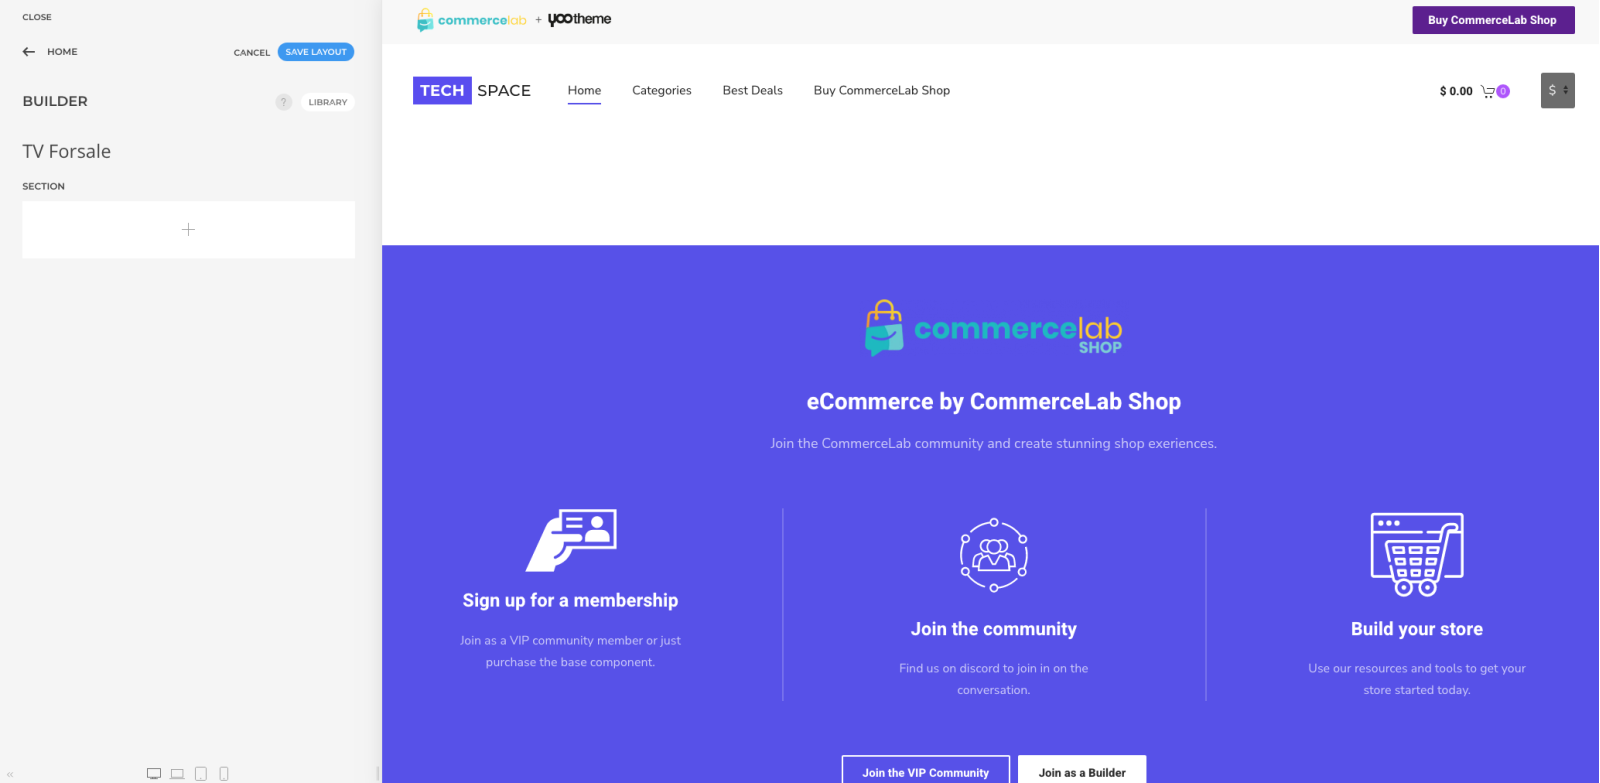
You'll notice the content on the page will dissappear. That'sa good thing., your Joomla product article is now activated to be used with YOOtheme.
Creating multiple columns on a page
-
Before we add content we're going to going to split the page into two columns.
-
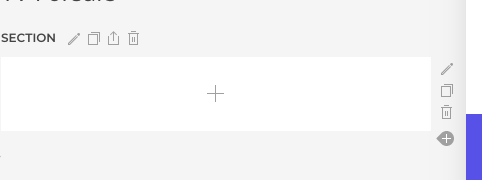
Hover the box on the left with + sign BUT don't click it we will do this later.
-
When hovering the + box notice on the right side the small pencil tool.
-
click that pencil to open your pages grid layout settings.
-
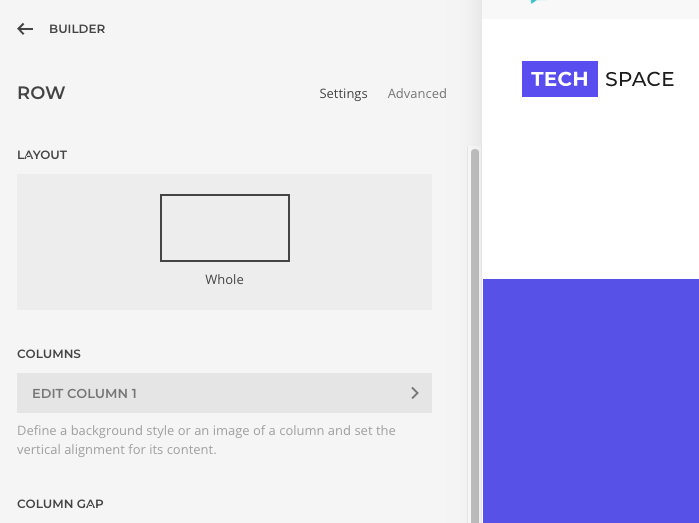
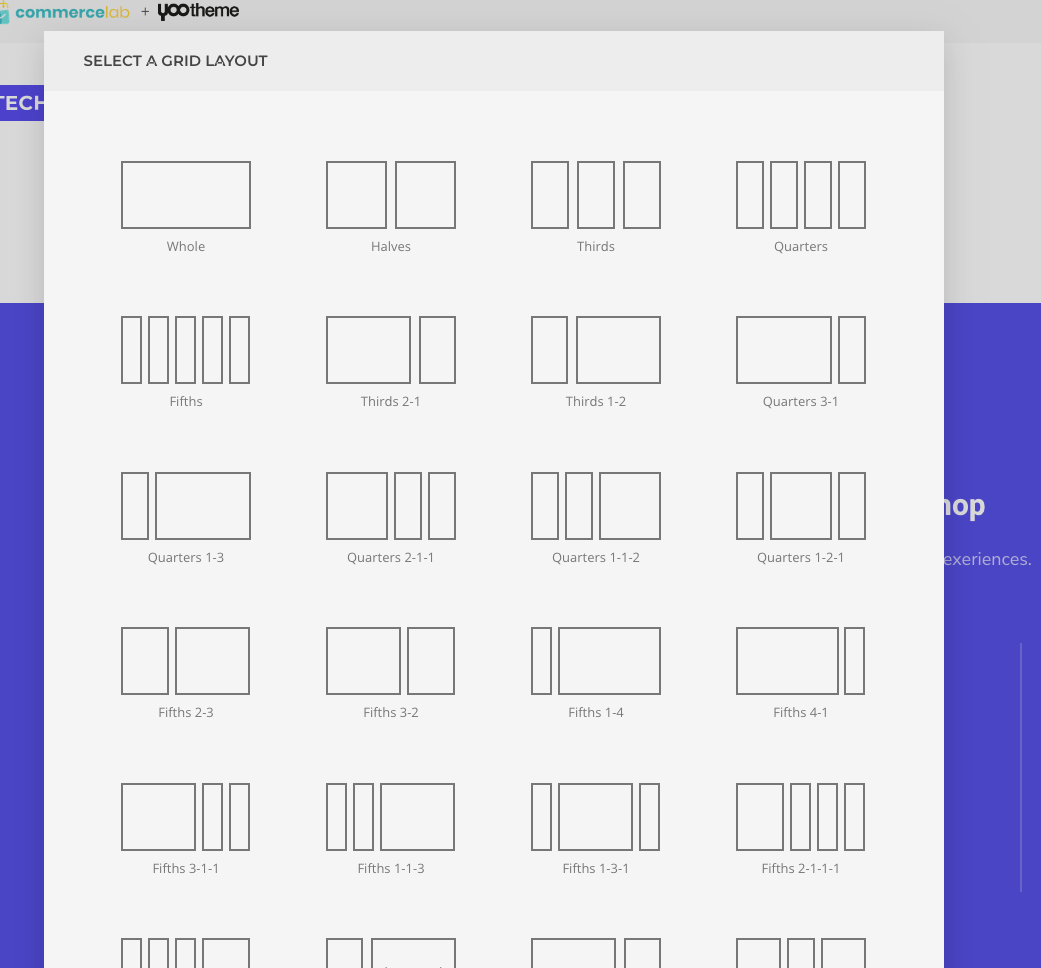
Now that you are editing your grid, click the box that says "whole"
-
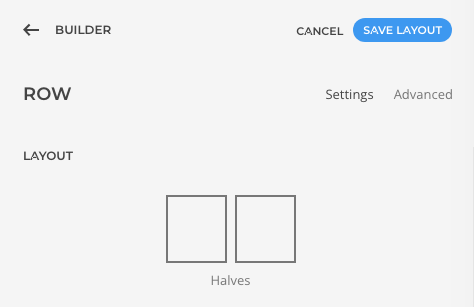
Select the grid layout you'd like to use. In this tutorial we're going to use "halves"
-
Click the back back to builder button with the arrow after you've added your grid layout. This will take you back toyour page builder.
-
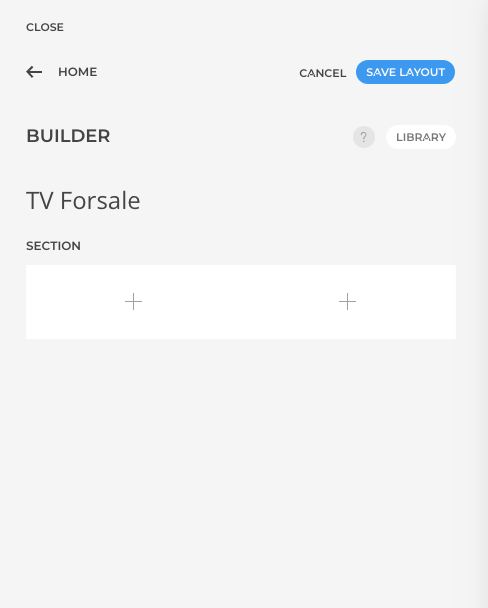
You will now notice that there are two + signs in the section inyour builder. You can now add content to either of these section on your page.
-
Saving your layout along the way is important to make sure your safe. When you see the blue button light up that saves "save layout" that means you have not saved. Click that button and it will go grey. Your work is now saved. Do this more often then not.
-
When you save your changes are live on your website. It's that simple to make changes to your website. Just change whatever you'd like and save.
The possiblities are limitless when it comes to the content you can add to your page. in this tutorial we will be covering the basics. Let's start with adding your full image.
©
Omni all rights reserved. A CommerceLab Corporation Product.
